How to Do a Keratin Treatment at Home: Step-by-Step Guide
Share
Why Keratin Treatments Are a Game-Changer for Pakistani Hair
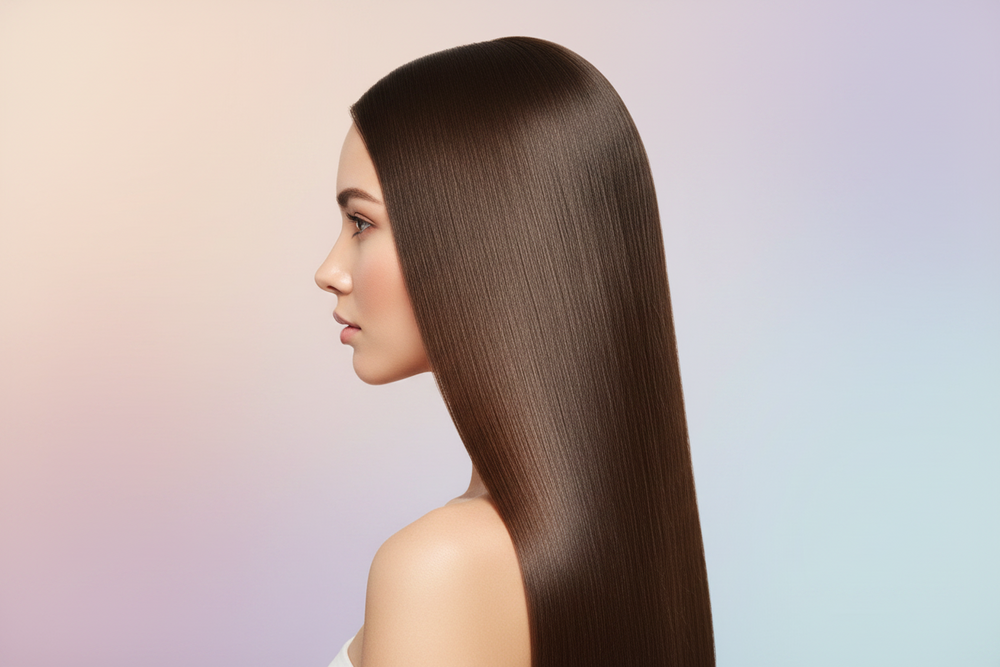
Pakistan's heat and humidity are the ultimate enemies of smooth hair. Frizz, breakage, and dullness are everyday struggles — and that's exactly why keratin treatments have become one of the most searched hair care solutions across the country. Whether you have thick, coarse hair or chemically treated locks, a keratin treatment can transform your hair in just a few hours.
In this guide, we'll walk you through exactly how to do a keratin treatment at home, what products to use, and how to maintain your results for weeks.
What Is a Keratin Treatment?
Keratin is a natural protein that makes up your hair. Heat, chemical processing, and environmental damage strip it away over time, leaving hair frizzy and weak. A keratin treatment replenishes this protein, coating each strand to make hair smoother, shinier, and more manageable.
Unlike a hair relaxer, keratin treatments don't permanently alter your hair structure — they typically last 2–4 months with proper care.
What You'll Need
- A clarifying or sulfate-free shampoo
- Keratin treatment product (cream or serum)
- Fine-tooth comb
- Hair clips to section hair
- Flat iron (ceramic, 230°C / 450°F)
- Gloves
Step-by-Step: How to Apply a Keratin Treatment at Home
Step 1: Wash with a Clarifying Shampoo
Start with clean hair. Use a clarifying shampoo to remove product buildup, oil, and residue. Do not use conditioner — you want the hair cuticle open so the keratin can penetrate deeply. Towel-dry until damp (not dripping wet).
Step 2: Section Your Hair
Divide your hair into 4 sections using clips. Working in sections ensures even coverage, especially if you have thick or long hair.
Step 3: Apply the Keratin Treatment
Put on your gloves. Apply the keratin product section by section, starting from the roots and working to the tips. Use a fine-tooth comb to distribute evenly. Avoid the scalp if the product instructions say so.
Tip: Don't over-saturate — a thin, even coat works better than a heavy application.
Step 4: Let It Absorb
Leave the product on for 20–30 minutes (check your product's instructions). Some treatments require you to sit under a hooded dryer for better absorption.
Step 5: Blow-Dry and Flat Iron
Blow-dry your hair completely straight. Then, using a ceramic flat iron at 230°C, go over each section 5–7 times. The heat seals the keratin into the hair shaft — this is the most important step for long-lasting results.
Step 6: Leave It In
Most keratin treatments require you to leave the product in for 24–72 hours before washing. During this time, keep hair straight and dry — no tying, clipping, or getting it wet.
Aftercare Tips to Make Results Last Longer
- Use a sulfate-free shampoo — sulfates strip keratin fast
- Avoid swimming in chlorinated or salt water
- Use a silk pillowcase to reduce friction overnight
- Apply a weekly hair mask to keep hair nourished and extend smoothness
- Limit heat styling between treatments
How Often Should You Do a Keratin Treatment?
For most hair types, every 2–3 months is ideal. Over-treating can cause protein overload, making hair stiff and brittle. Balance keratin treatments with moisturising hair masks in between.
Common Mistakes to Avoid
- ❌ Skipping the clarifying shampoo step
- ❌ Not using enough heat when flat ironing
- ❌ Washing hair too soon after treatment
- ❌ Using sulfate-based shampoos post-treatment
- ❌ Applying too much product (leads to stiff, crunchy hair)
Shop Hair Care Products at BECUTE.PK
Ready to get started? Browse our curated range of hair care essentials — from conditioners to styling products — to complete your keratin treatment routine.
👉 Shop Conditioners | Shop Styling Products
Have questions about which keratin product is right for your hair type? Drop us a message — we're here to help!